How To Use Divi Next Text Plugin
Plugin Installation Process
Divi Next brings you multiple modules to go through and work around with to help create a website that best describes you, your project and your company. Here we present to you in summary what each module provides you with to edit your website.
Here are the basics of uploading a plugin to your website:
- After you download the plugin’s .zip file, you first go to your WordPress ‘Dashboard’
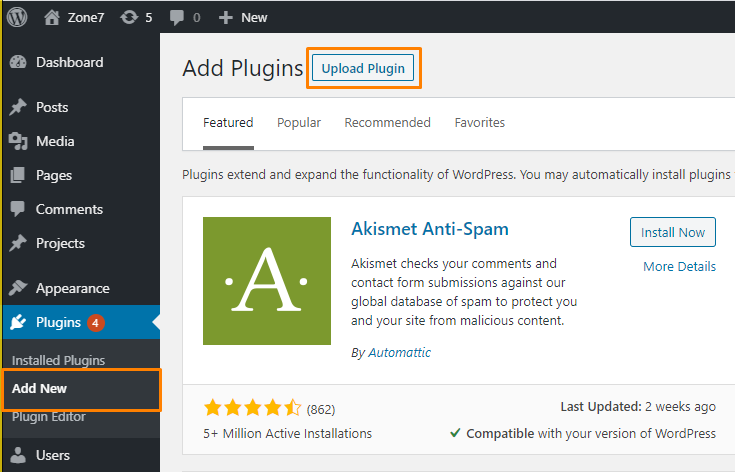
- On the left of your screen, you will see a list of settings in a column, move your cursor to ‘Plugins’
- Go to ‘Add New’, and in this page, you will see ‘Add Plugin’ and right beside it you’ll find a button that says ‘Upload Plugin’, click on that
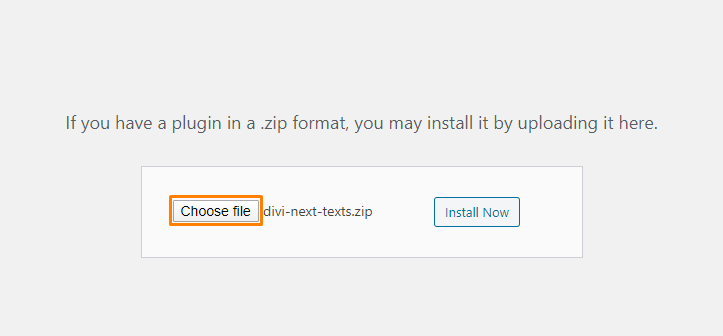
- Finally, select the .zip file that has the module
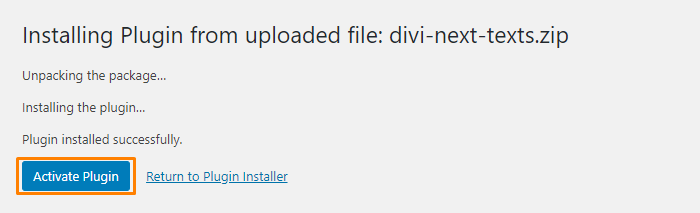
- When the plugin is installed successfully, you will need to ‘Activate’ the plugin
- Enjoy your Divi Next Text Modules
- When the plugin is installed successfully, you will need to ‘Activate’ the plugin
- Enjoy your Divi Next Text Modules
Once you have installed Divi Next Text Module, just like any other Divi Modules on your website, you will find our modules alongside the rest of the Divi Modules that are available in the “Insert Module” window.
Next, you click on the Enable Visual Builder button to launch the builder in ‘Visual Mode’. You can also click the Enable Visual Builder button when browsing your website on the front end if you are logged in to your WordPress Dashboard.
Content
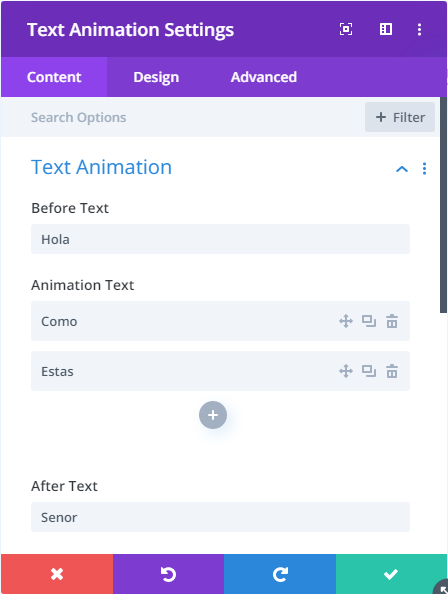
Within the Next Text Animation module’s ‘Content’ tab under the ‘Next Text Animation Settings’, you will see ‘Text Animation’ toggle, below the ‘Text Animation’ toggle there are six fields which allow many editing options for the first steps to editing your text with animation.
To name the six fields, Before Text, Animation Text, After Text, Select Animation Effect, Select Heading Tag, and an option for you to select inline view or stacked view e.i whether you want your text to be viewed horizontally or vertically.
Finally, there’s an option for you to add a link or background to your design module. This is usually for every module available under Divi Modules.
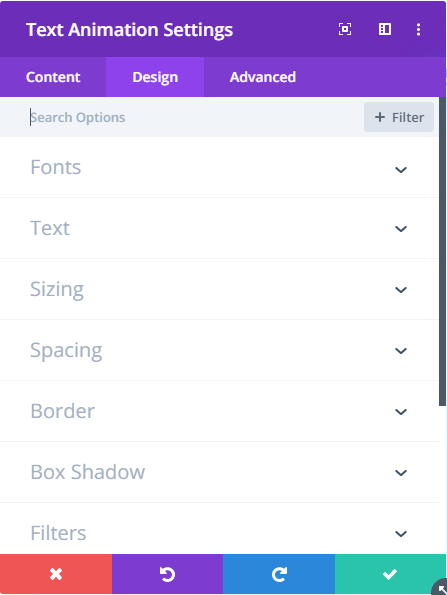
Within the ‘Design’ tab, you will encounter some basic design tools for Fonts, Text, Sizing, Spacing, Border, Box Shadow, Filters, Transform, Animation being some common design tools that are provided under the “Design” tab. Explore at your will and interesting designs are bound to show up.
This is for the coders from beginner level to professional level, you all are to fill in ‘CSS ID and Classes’, add in your ‘Custom CSS’, edit the ‘Visibility’, Transitions, Position, and Scroll Effects.
Text Highlight Module
Content
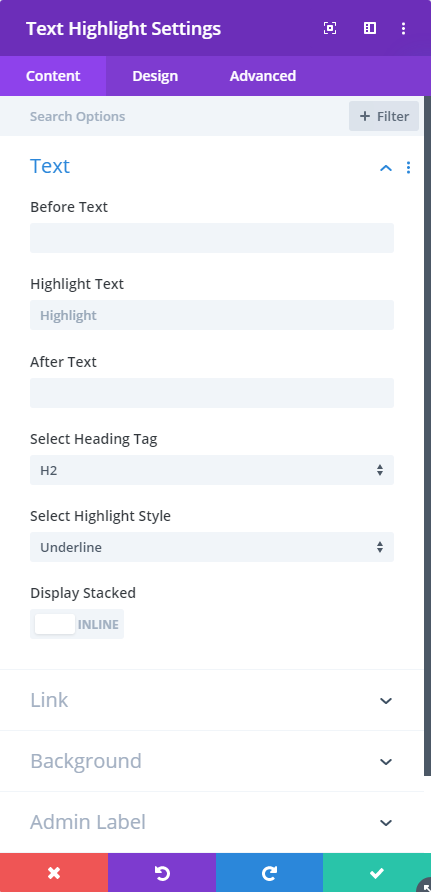
Within the Next Text Highlight module’s ‘Content’ tab under the ‘Next Text Highlight Settings’, you will see ‘Text’ toggle, below the ‘Text’ toggle there are six fields which allow many editing options for the first step to editing your text.To name the six fields, Before Text, Highlight Text, After Text, Select Heading Tag, Select Highlight Style, and an option for you to select inline view or stacked view e.i whether you want your text to be viewed horizontally or vertically.
Finally, there’s an option for you to add a link or background to your design module. This is usually for every other module available.
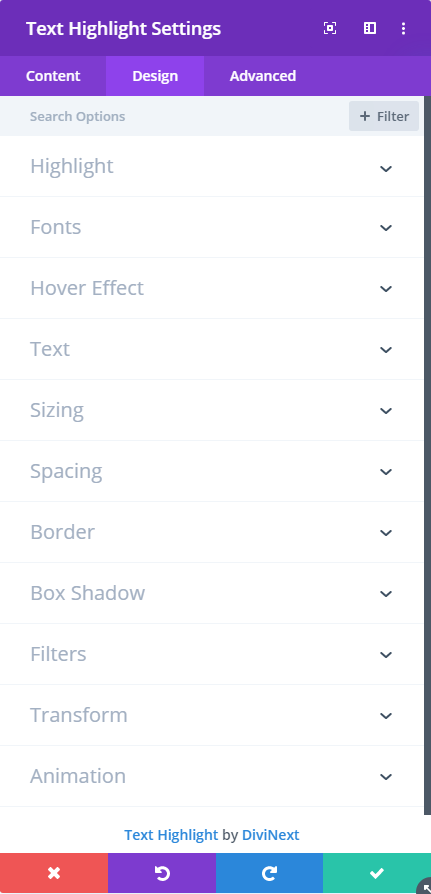
Within the ‘Design’ tab, you will encounter some basic design tools for Fonts, Text, Sizing, Spacing, Border, Box Shadow, Filters, Transform, Animation being some common design tools that are provided under the “Design” tab. Explore at your will and interesting designs are bound to show up.
You are facing two additional design tools to make proper use of the Next Text Highlight Module, they are, Highlight and Hover Effect toggles. Go ahead explore the versatile design tools made unique for each module.
This is for the coders from beginner level to professional level, you all are to fill in ‘CSS ID and Classes’, add in your ‘Custom CSS’, edit the ‘Visibility’, Transitions, Position, and Scroll Effects.
Text Gradient Module
Content
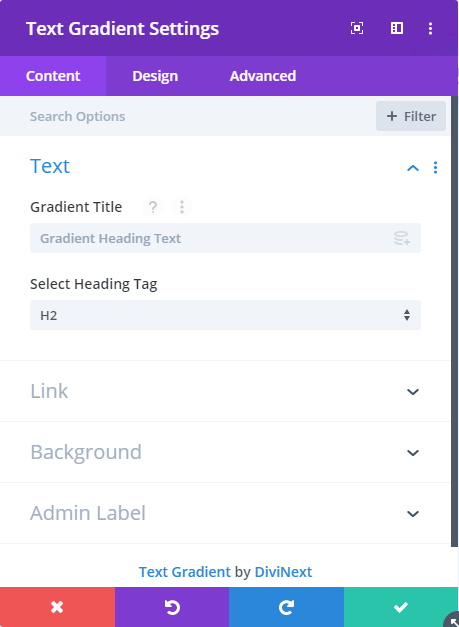
Within the Next Text Gradient module’s ‘Content’ tab under the ‘Next Text Gradient Settings’, you will see ‘Text’ toggle, below that you are to type in ‘Gradient Title’ and ‘Select Heading Tag’ that best suits your text.Then there’s an option for you to add a link or background to your design module. This is usually for every other module available.
Within the ‘Design’ tab, you will encounter some basic design tools for Fonts, Text, Sizing, Spacing, Border, Box Shadow, Filters, Transform, Animation being some common design tools that are provided under the “Design” tab. Explore at your will and interesting designs are bound to show up.
You are facing three additional design tools to make proper use of the Next Text Gradient Module, they are, ‘Gradient Color’, ‘Reveal Effect’, and ‘Hover Effect’ toggles. Go ahead explore the versatile design tools made unique for each module.

This is for the coders from beginner level to professional level, you all are to fill in ‘CSS ID and Classes’, add in your ‘Custom CSS’, edit the ‘Visibility’, Transitions, Position, and Scroll Effects.
Text Mask Module
Content
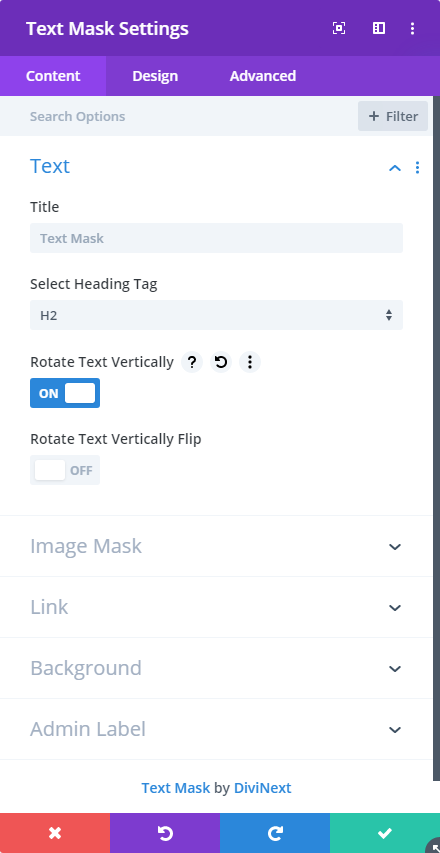
Within the Next Text Gradient module’s ‘Content’ tab under the ‘Next Text Gradient Settings’, you will see ‘Text’ toggle, below that you are to type in ‘Gradient Title’ and ‘Select Heading Tag’ that best suits your text.Then there’s an option for you to add a link or background to your design module. This is usually for every other module available.
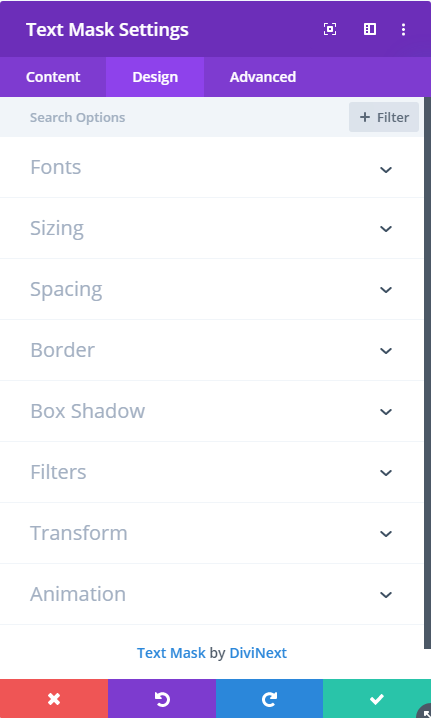
Within the ‘Design’ tab, you will encounter some basic design tools for Fonts, Text, Sizing, Spacing, Border, Box Shadow, Filters, Transform, Animation being some common design tools that are provided under the “Design” tab. Explore at your will and interesting designs are bound to show up.
You are facing three additional design tools to make proper use of the Next Text Gradient Module, they are, ‘Gradient Color’, ‘Reveal Effect’, and ‘Hover Effect’ toggles. Go ahead explore the versatile design tools made unique for each module.
This is for the coders from beginner level to professional level, you all are to fill in ‘CSS ID and Classes’, add in your ‘Custom CSS’, edit the ‘Visibility’, Transitions, Position, and Scroll Effects.
Multi Heading Module
Content
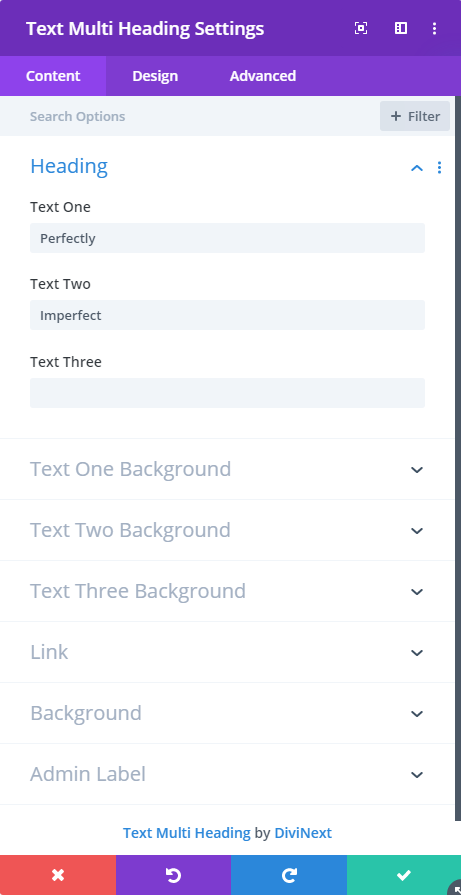
Within the Next Text Animation module’s ‘Content’ tab under the ‘Next Text Multi Heading Settings’, you will see ‘Heading’ toggle, below the ‘Heading’ toggle, you have options to put three separate headings for your page or post. Then you will head on to the options where you get to put ‘Background’ for each text for your site.
Then there’s an option for you to add a link or background to your design module. This is usually for every other module available.
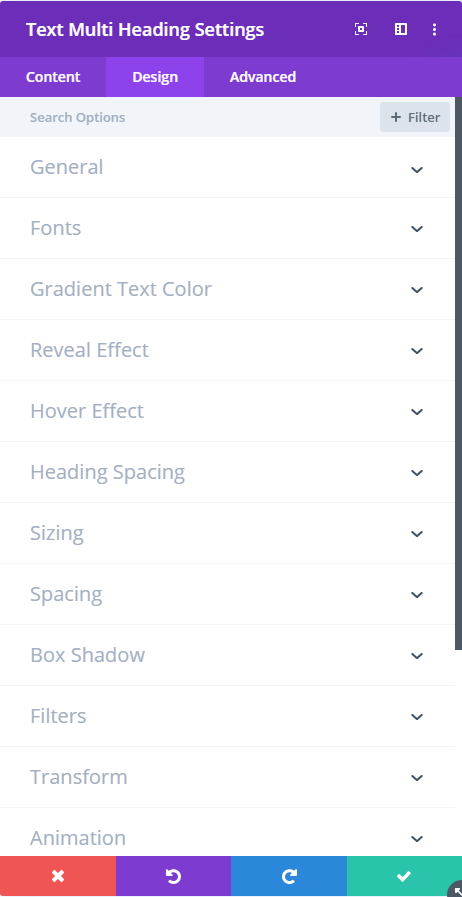
Within the ‘Design’ tab, you will encounter some basic design tools for Fonts, Text, Sizing, Spacing, Border, Box Shadow, Filters, Transform, Animation being some common design tools that are provided under the “Design” tab. Explore at your will and interesting designs are bound to show up.
You are facing two additional design tools to make proper use of the Next Text Highlight Module, they are, Highlight and Hover Effect toggles. Go ahead explore the versatile design tools made unique for each module.
This is for the coders from beginner level to professional level, you all are to fill in ‘CSS ID and Classes’, add in your ‘Custom CSS’, edit the ‘Visibility’, Transitions, Position, and Scroll Effects.
Content
Within the Next Text Stroke Motion module’s ‘Content’ tab under the ‘Next Text Stroke Motion Settings’, you will see ‘Animation Text’ toggle, below which you type in the text you want animated using stroke-like motion.
Then there’s an option for you to add a link or background to your design module. This is usually for every other module available. Then there’s an option for you to add a link or background to your design module. This is usually for every other module available.
Within the ‘Design’ tab, you will encounter some basic design tools for Fonts, Text, Sizing, Spacing, Border, Box Shadow, Filters, Transform, Animation being some common design tools that are provided under “Design” tab. Explore at your will and interesting designs are bound to show up.
You are facing two additional design tools to make proper use of the Next Text Stroke Motion Module, they are, ‘Stroke Settings’ and ‘Color’ toggles. Go ahead explore the versatile design tools made unique for each module.
This is for the coders from beginner level to professional level, you all are to fill in ‘CSS ID and Classes’, add in your ‘Custom CSS’, edit the ‘Visibility’, Transitions, Position, and Scroll Effects.
Text Glitch Module
Content
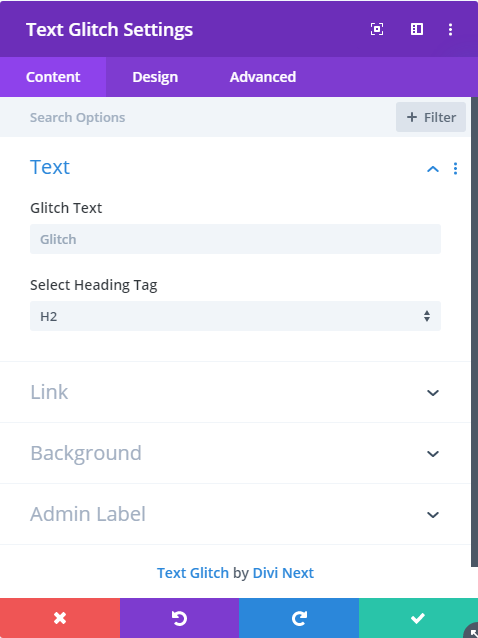
Within the Next Text Glitch module’s ‘Content’ tab under the ‘Next Text Glitch Settings’, you will see ‘Glitch Text’ toggle, below the ‘Text’ toggle you will put the text ‘Content’ and pick the best ‘Heading Tag’ that goes well with your text.
Finally, there’s an option for you to add a link or background to your design module. This is usually for every other module available.
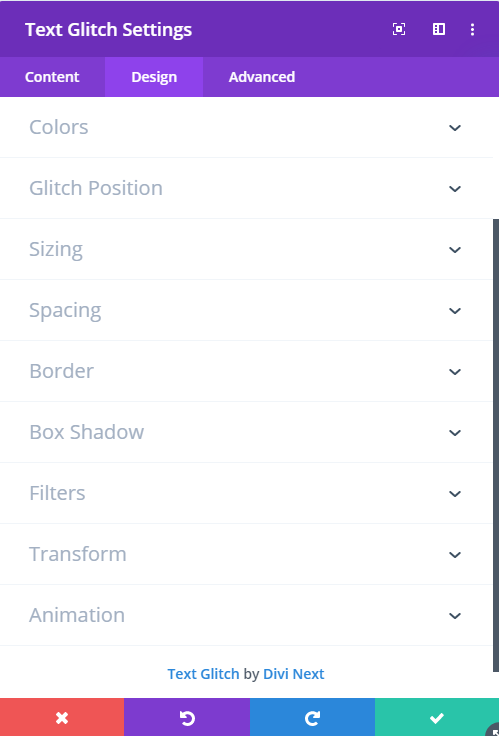
Within the ‘Design’ tab, you will encounter some basic design tools for Fonts, Text, Sizing, Spacing, Border, Box Shadow, Filters, Transform, Animation being some common design tools that are provided under the “Design” tab. Explore at your will and interesting designs are bound to show up.
You are facing two additional design tools to make proper use of the ‘Next Text Glitch Module’, they are, ‘Glitch Style’ and ‘Glitch Position’ toggles. Go ahead explore the versatile design tools made unique for each module.
This is for the coders from beginner level to professional level, you all are to fill in ‘CSS ID and Classes’, add in your ‘Custom CSS’, edit the ‘Visibility’, Transitions, Position, and Scroll Effects.
Text Color Motion
Content
Within the Next Text Color Motion module’s ‘Content’ tab under the ‘Next Text Color Motion Settings’, you will see ‘Text’ toggle, below the ‘Text’ toggle you get to add your text content and get to pick ‘Heading Tag’ that best suits your color motion text.
Finally, there’s an option for you to add a link or background to your design module. This is usually for every other module available under Divi.

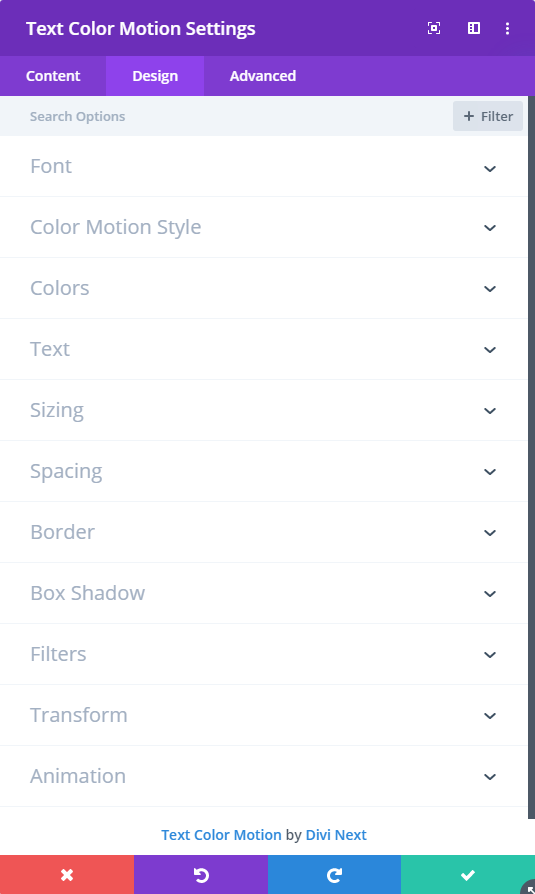
Within the ‘Design’ tab, you will encounter some basic design tools for Fonts, Text, Sizing, Spacing, Border, Box Shadow, Filters, Transform, Animation being some common design tools that are provided under the “Design” tab. Explore at your will and interesting designs are bound to show up.
You are facing one additional design tool to make proper use of the ‘Next Text Color Motion Module’, and that would be, ‘Color Motion Style’. Go ahead explore the versatile design tools made unique for each module.
This is for the coders from beginner level to professional level, you all are to fill in ‘CSS ID and Classes’, add in your ‘Custom CSS’, edit the ‘Visibility’, Transitions, Position, and Scroll Effects.
Text Tilt Module
Content
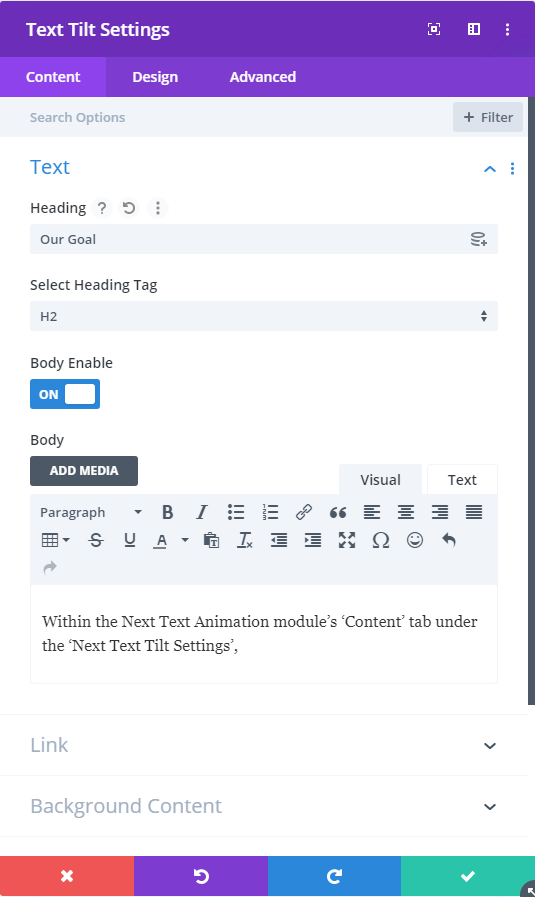
Within the Next Text Animation module’s ‘Content’ tab under the ‘Next Text Tilt Settings’, you will see ‘Text’ toggle, below which you are to type your text in the ‘Heading’ field and pick a suitable size from the ‘Select Heading Tag’ field.
Add extra info using ‘Next Text Tilt Settings’ which has a field where you get to enable ‘Body’ text under the ‘Heading’ text. This will allow you to put useful information about your business or company products, it could be used for story-telling as well for your travel blog.
‘Background Content’ toggle allows you to put either a fill color or gradient only behind the content’s surface area.
Then there’s an option for you to add a ‘Link’ and ‘Background’ to your text module that covers a much larger area compared to ‘Background Content’. This is usually for every other module available under Divi and Divi Next.
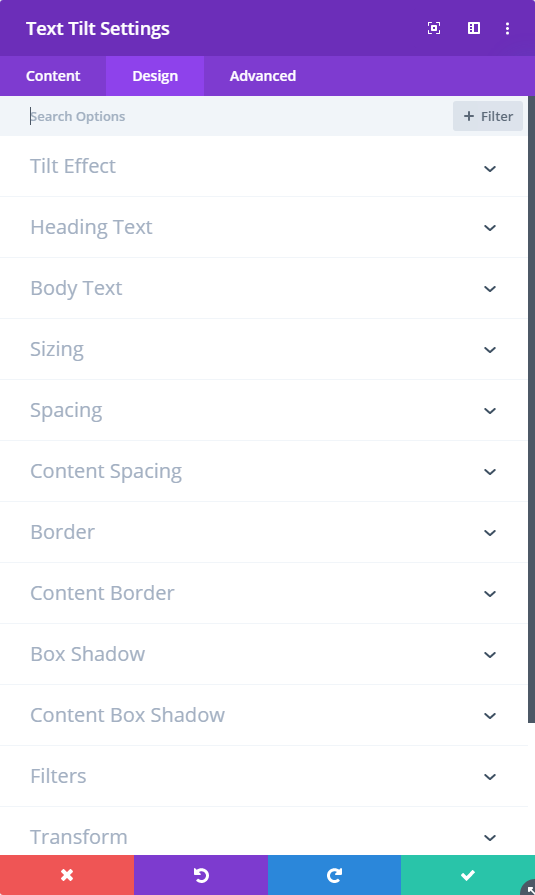
Within the ‘Design’ tab, you will encounter some basic design tools for Fonts, Text, Sizing, Spacing, Border, Box Shadow, Filters, Transform, Animation being some common design tools that are provided under “Design” tab. Explore at your will and interesting designs are bound to show up.
Surprisingly, for Next Text Tilt Settings, you will get some new design tools like, ‘Tilt Effect’, ‘Heading Text’, Body Text’, ‘Content Spacing’, ‘Content Border’ and ‘Content Box Shadow’. Feel free to explore and enjoy all kinds of ways of designing texts with the ‘Divi Next Text Module’.
This is for the coders from beginner level to professional level, you all are to fill in ‘CSS ID and Classes’, add in your ‘Custom CSS’, edit the ‘Visibility’, Transitions, Position, and Scroll Effects.
Text Stroke Motion
Content
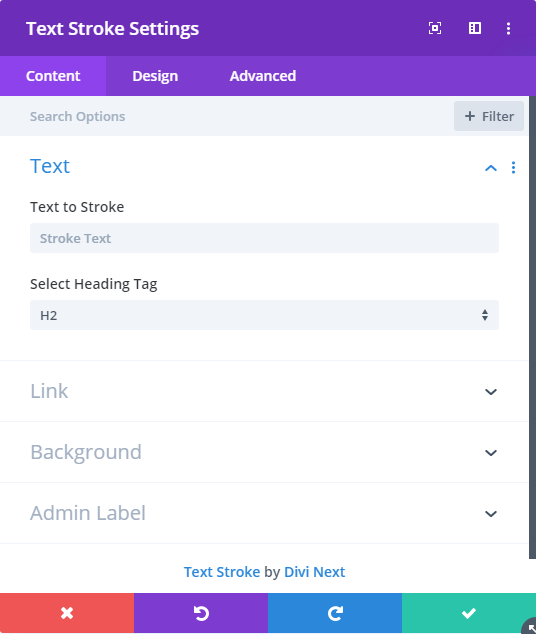
Within the Next Text Stroke module’s ‘Content’ tab under the ‘Next Text Stroke Settings’, you will see ‘Text’ toggle, below which, you have fields like ‘Text to Stroke’ and ‘Select Heading Tag’, under ‘Text to Stroke’ you get to put the text where you want the stroke effect and ‘Select Heading Tag’ allows you to pick the heading size to your liking.
Then there’s an option for you to add a ‘Link’ and ‘Background’ to your text design. This is usually for every other module available.

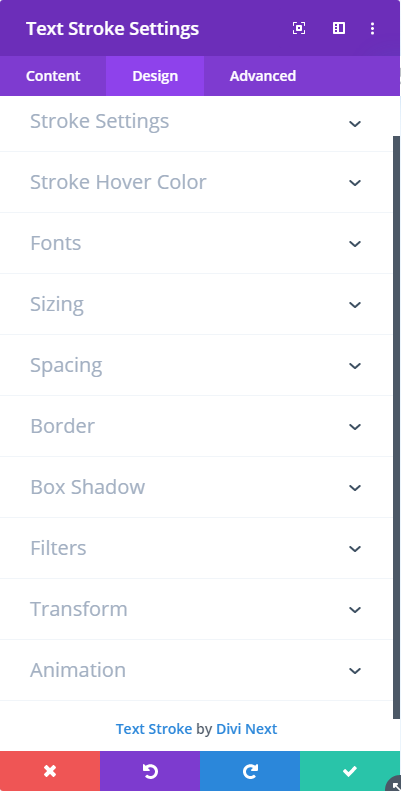
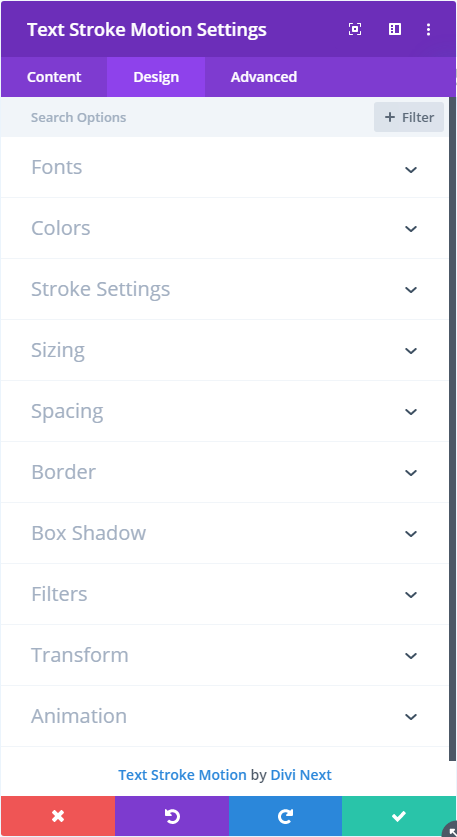
Within the ‘Design’ tab, you will encounter some basic design tools for Fonts, Text, Sizing, Spacing, Border, Box Shadow, Filters, Transform, Animation being some common design tools that are provided under the “Design” tab. Explore at your will and interesting designs are bound to show up.
In addition to this module, you get to edit using ‘Stroke Settings’ toggle and pick a custom color for the stroke effect in your text using ‘Stroke Hover Color’ toggle.
This is for the coders from beginner level to professional level, you all are to fill in ‘CSS ID and Classes’, add in your ‘Custom CSS’, edit the ‘Visibility’, Transitions, Position, and Scroll Effects.
Content
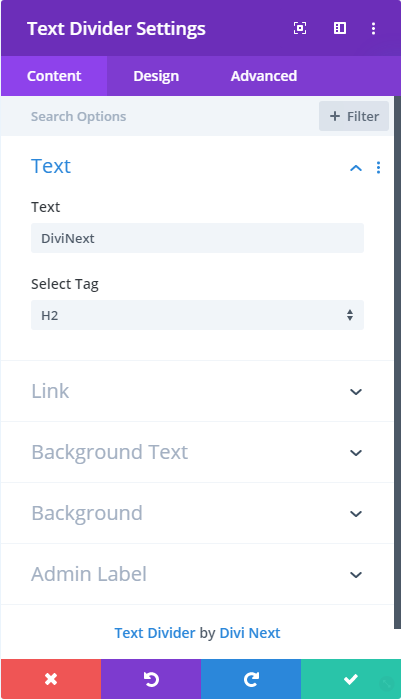
Within the Next Text Divider module’s ‘Content’ tab under the ‘Next Text Divider Settings’, you will see ‘Text’ toggle, below which you are to type the text for the Text Divider.
Make your page look attractive to your viewers using Divi Next’s collection of sleek Text Dividers.
Then there’s an option for you to add a link or background to your design module. This is usually for every other module available.
Within the ‘Design’ tab, you will encounter some basic design tools for Fonts, Text, Sizing, Spacing, Border, Box Shadow, Filters, Transform, Animation being some common design tools that are provided under the “Design” tab. Explore at your will and interesting designs are bound to show up.
In addition, there’s ‘Divider Settings’ toggle where you get to pick divider effect from the collection of dividers; edit the dividers to your liking with the various design tools provided to make proper use of the Next Text Divider Module. Go ahead and explore the versatile design tools made unique for each module.

This is for the coders from beginner level to professional level, you all are to fill in ‘CSS ID and Classes’, add in your ‘Custom CSS’, edit the ‘Visibility’, Transitions, Position, and Scroll Effects.
Hover Highlight Module
Content
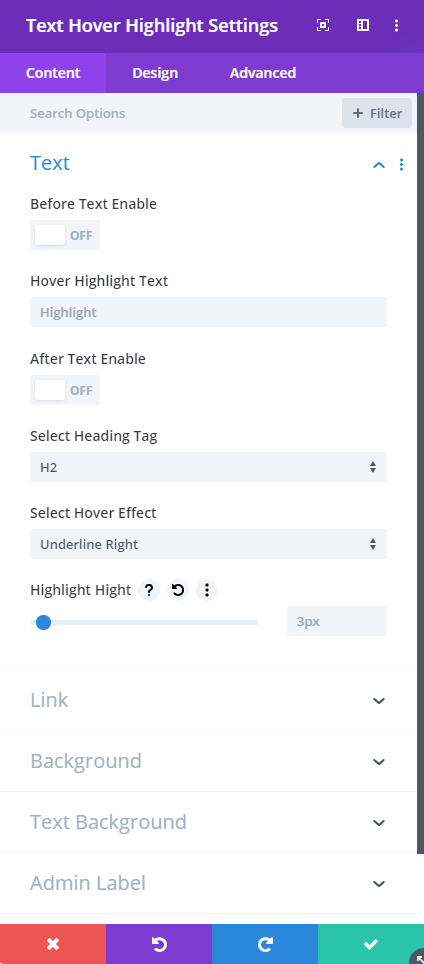
Within the Next Text Hover Highlight module’s ‘Content’ tab under the ‘Next Text Hover Highlight Settings’, you will see under the ‘Text’ toggle there are fields like, ‘Before Text Enable’, ‘Hover Highlight Text’ and ‘After Text Enable’. Make use of these options to put plain text before and after the hover highlight text, and you may keep them disabled if you just wish to have a word or phrase just highlighted, this is allowing your texts space to make use of various ways of highlighting texts using Divi Next Text Modules.
Like other modules, you will have the options where you get to add a ‘Link’ and ‘Background’ to your text designs.
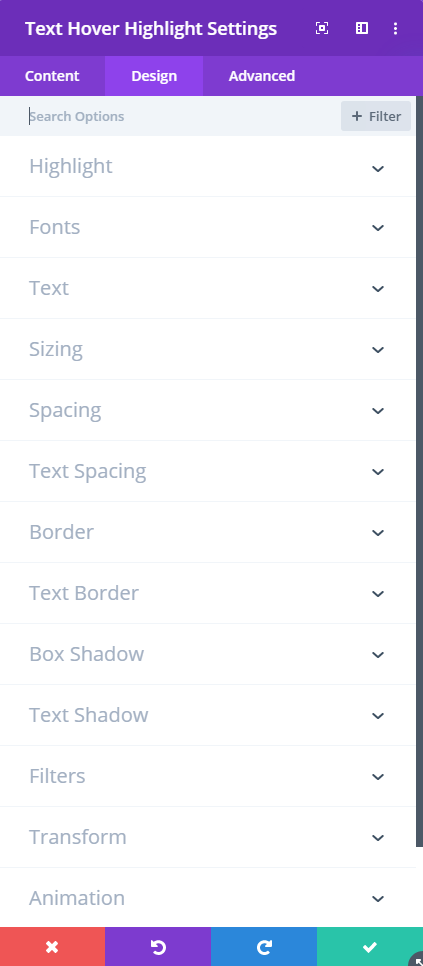
Within the ‘Design’ tab, you will encounter some basic design tools for Fonts, Text, Sizing, Spacing, Border, Box Shadow, Filters, Transform, Animation being some common design tools that are provided under the “Design” tab. Explore at your will and interesting designs are bound to happen.
You are facing ‘Highlight’ toggle and if you enable this option you get to edit the color of the highlight effect. Don’t hesitate to explore the versatile design tools made unique for each module.
This is for the coders from beginner level to professional level, you all are to fill in ‘CSS ID and Classes’, add in your ‘Custom CSS’, edit the ‘Visibility’, Transitions, Position, and Scroll Effects.